Moist Protein Banana Bread Recipe
Protein powder is not flour, and treating it like flour is why most protein banana bread comes out dry and faintly rubbery. Whey coagulates when it heats and squeezes water out of the crumb. This loaf works around that with three changes: protein powder replaces only about a third of the flour, Greek yogurt puts moisture back, and it comes out of the oven ten degrees earlier than a normal loaf.
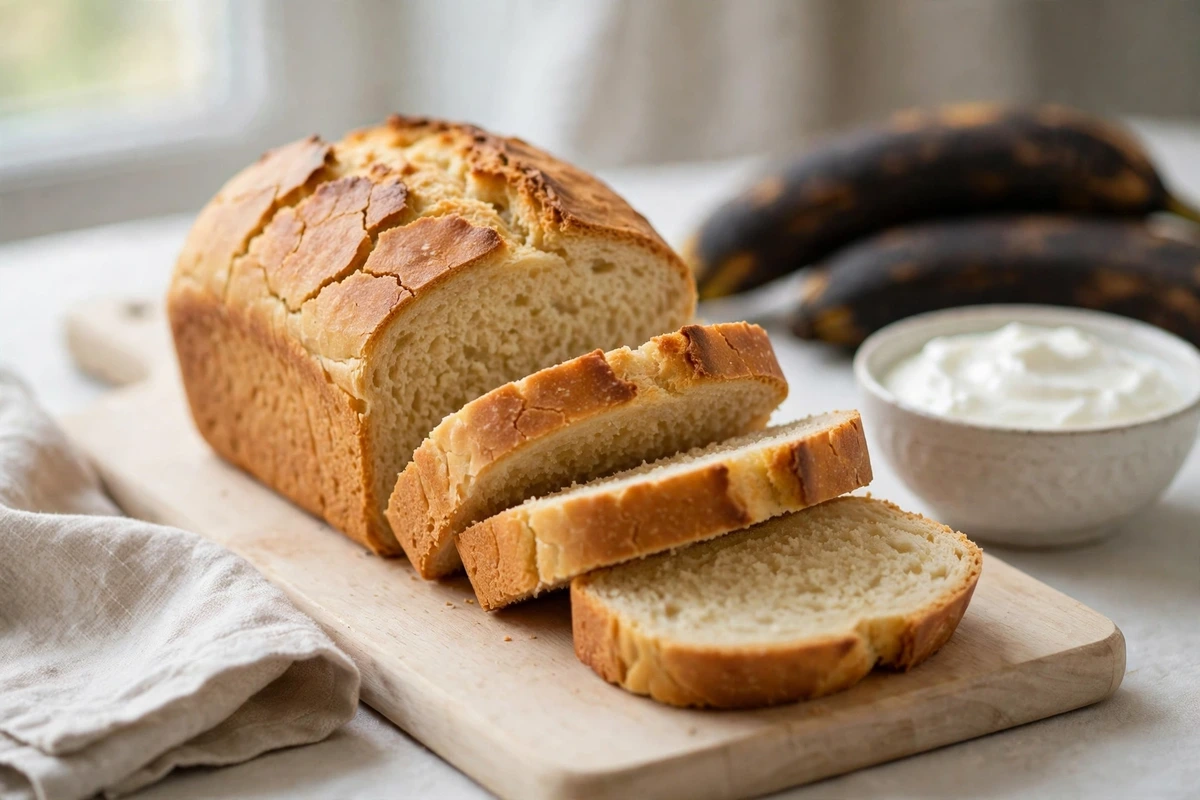
This loaf works around that with three changes: protein powder replaces only about a third of the flour, Greek yogurt puts moisture back, and it comes out of the oven a good ten degrees earlier than a normal loaf.
Why You'll Love This Recipe
- It stays soft instead of turning into the dense, squeaky brick that puts people off protein baking.
- One bowl, no mixer, and nothing that needs to come to room temperature first.
- About 10g of protein per slice, labeled as a simple estimate without overblown health claims.
- Works as muffins with no changes to the recipe, which is ideal for weekday meal prep.
Pull this loaf at 200 to 203°F in the center, not the 205 to 210°F a normal quick bread wants. Whey behaves like the protein in an egg.
Heat it gently and it sets soft, push it too far and the proteins contract and force water out, which is the same mechanism that turns a scrambled egg watery and squeaky.
Those last few degrees are exactly where a good protein loaf turns into the dry one you've had before. Bake this to 210°F and you'll get the rubbery crumb that makes people give up on protein baking entirely.
Read Before You Start
Don't replace all the flour. This is the single biggest reason these bakes fail. Flour brings starch, which gelatinizes and holds water in a soft network. Protein powder brings none of that, so a loaf made entirely of protein powder has nothing to build a tender crumb from and sets into something closer to a dense omelette. About a third of the dry weight is the ceiling.
Lower oven, shorter bake: 325°F rather than 350°F. A hotter oven sets the outside before the middle catches up, and every extra minute at high heat pushes the protein further into squeezing out moisture. This loaf wants a gentler, slightly longer bake at a lower temperature.
Ingredient Deep Dive & Notes
Whey concentrate, ideally: Concentrate holds more moisture than isolate because it retains some fat and lactose, and isolate is the powder most likely to give you a dry, squeaky result. Casein absorbs far more liquid than whey does and turns the batter thick and pasty, so if casein is what you own, add an extra 2 tablespoons of yogurt. Plant blends based on pea and rice absorb the most and can go gritty, so give the batter the full rest.
Vanilla-flavored, not unflavored: Unflavored powders often taste faintly savory or chalky in a sweet bake, and there's not enough sugar here to hide it. Flavored powders also carry sweeteners, which is part of why the sugar in this recipe is lower than a standard loaf.
Greek yogurt, full fat: Doing two jobs: adding moisture that protein powder takes away, and contributing acid for the baking soda. Nonfat works but the crumb comes out noticeably drier, which is the exact thing this recipe is trying to avoid.
Oil, not butter: Don't substitute this one. Butter solidifies as the loaf cools, and a protein bake already firms up much more than a normal one on cooling. Oil stays liquid at room temperature, so slices stay soft on day two instead of going tight.
Three eggs, not two: Extra structure to compensate for the flour you removed, and it holds the crumb together in a batter with less gluten available.
Very ripe bananas: Black skins. With reduced sugar here, banana ripeness is carrying more of the sweetness than usual, and underripe fruit leaves this loaf genuinely bland.
Baking powder plus soda: More powder than the other loaves in this cluster, because a heavier batter with less gluten needs more lift to avoid baking flat.
Vanilla extract: Standard extract is alcohol-based. Alcohol-free vanilla flavoring or 1 teaspoon of vanilla powder both work as straight swaps. Check your protein powder's label for brand-specific additives. For the classic butter-and-sugar loaf without protein powder, start with our Moist Banana Bread Recipe.
Equipment Needed
- 9x5-inch loaf pan. Standard size. This batter is thicker than a normal banana bread batter but doesn't rise as much, so a smaller pan isn't necessary.
- Instant-read thermometer. More important here than in any other loaf in this cluster, because the window between soft and rubbery is roughly five degrees wide.
- Fine sieve or whisk. Protein powder clumps badly and clumps don't break up during folding. They bake into chalky pockets.
- Parchment paper. Cut a strip the width of the pan with overhang on both long sides.
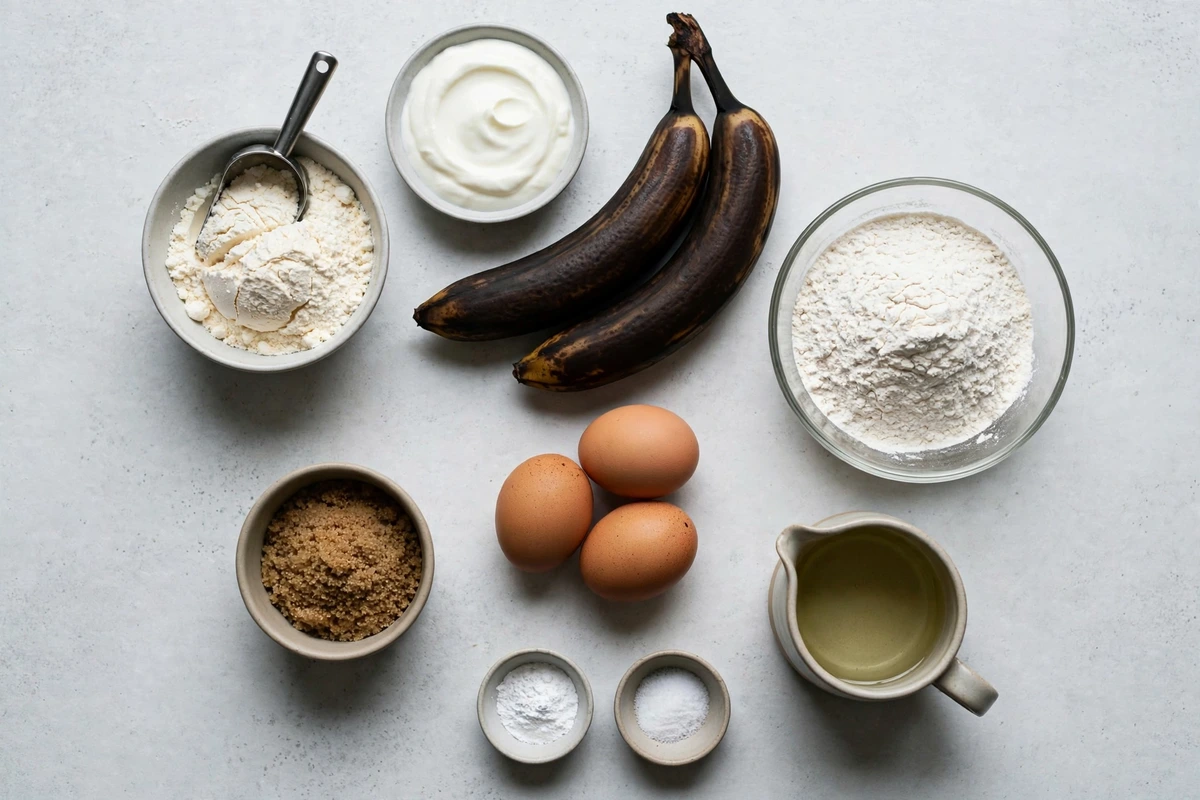
Overhead flatlay of protein banana bread ingredients including mashed bananas, vanilla protein powder, Greek yogurt, flour, eggs, oil, and cinnamon
Detailed Step-by-Step Cooking Guide
1. Heat the oven and prep the pan
2. Mash the bananas and mix the wet ingredients
3. Sift the dry ingredients together
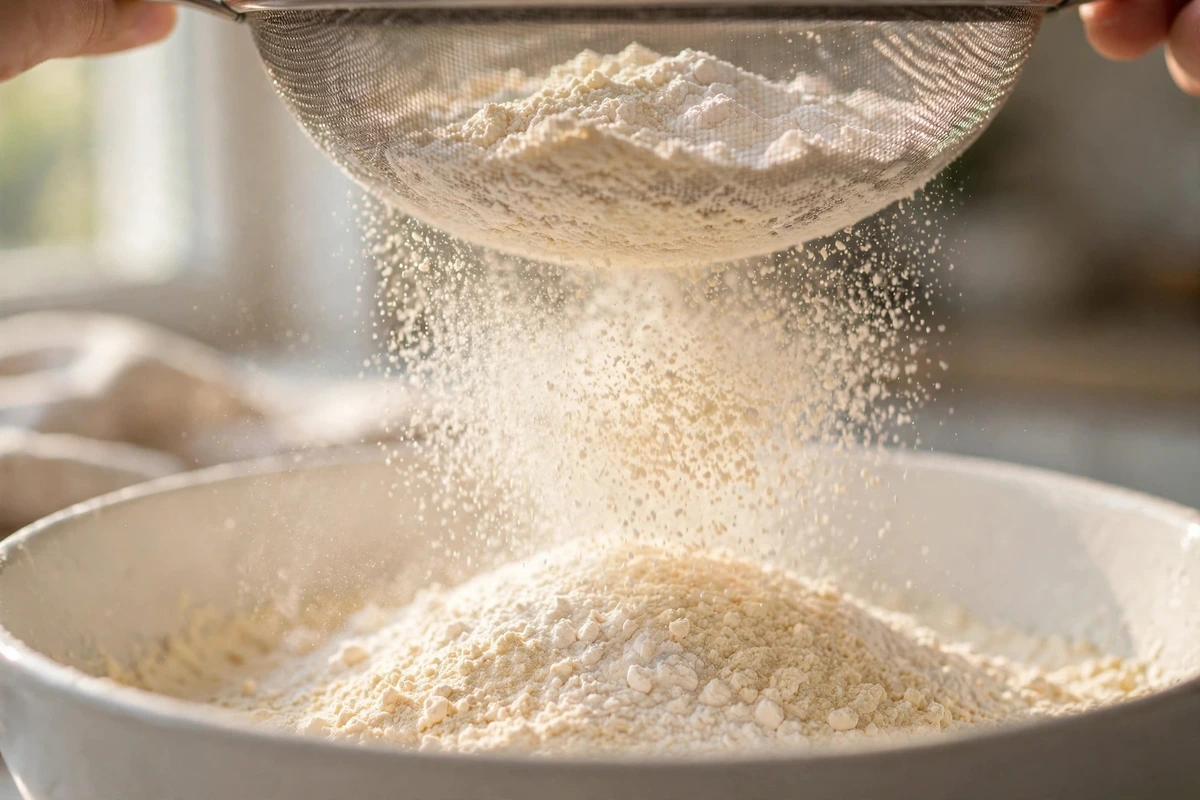
Sifting flour, protein powder, and leaveners together in a mixing bowl
4. Fold the dry into the wet
5. Rest the batter for 10 minutes
6. Bake to temperature
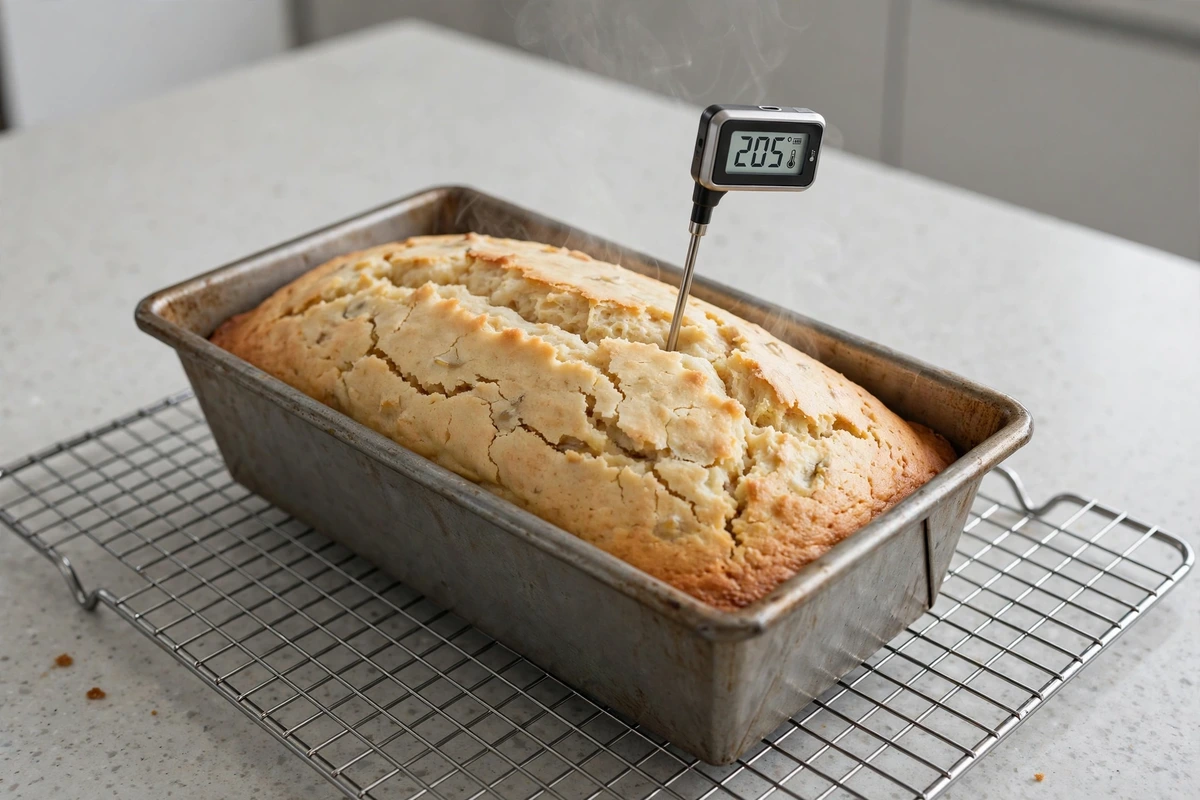
Checking internal temperature of baked protein banana bread loaf with an instant-read probe
7. Cool in two stages, then judge it
Getting the Protein Banana Bread Texture Right
Done right, the crust is pale gold rather than deep brown, the top is domed and lightly cracked, and a cut slice shows a fine, close, slightly moist crumb. It should feel soft and give under light pressure, then spring back. Denser than the classic loaf, definitely, but not tight or squeaky.
Overbaked. This is the failure, and it's almost always temperature. Pull at 200°F next time and stop looking for a browned crust.
Unsifted protein powder. Clumps don't disperse during folding.
Batter went in the oven without resting. Plant-based powders are the worst for this and can use 15 minutes rather than 10.
Either too much protein powder relative to flour, or old baking powder. Powder loses strength after about six months open.
Underbaked, which is possible even at this lower target if the oven runs cold. 200°F in the center is the floor, not a suggestion.
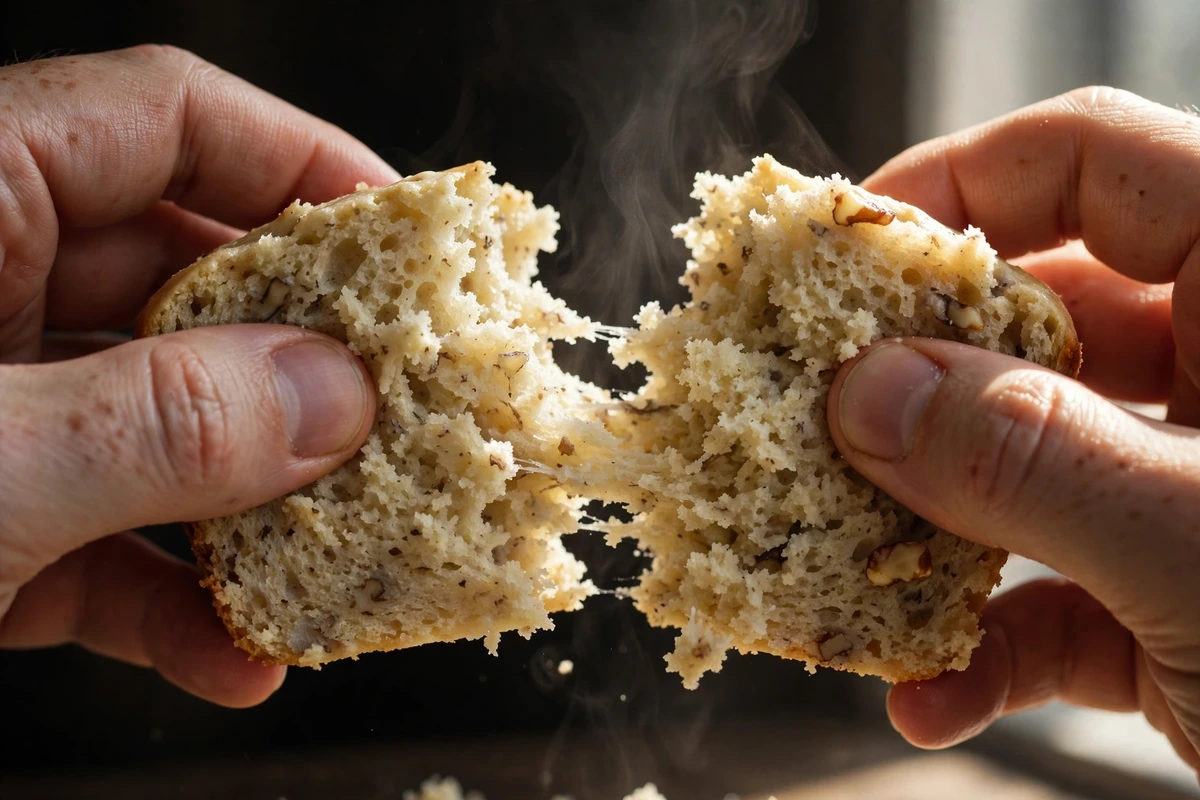
Close-up view of sliced protein banana bread showing a fine, soft, and moist crumb structure
How to Use Leftover Protein Banana Bread
How to Serve, Store & Reheat
Slice 3/4 inch thick, fully cool. Peanut butter, almond butter, or plain. For high-protein morning meal-prep to rotate alongside this loaf, layer jars of thick and creamy chia pudding with fresh berries and seeds.
Cool completely, wrap in foil or an airtight container, and keep at room temperature up to 4 days. This is the one loaf in the cluster where the fridge is acceptable if your kitchen is warm, since the yogurt content makes it slightly more perishable than a butter-and-sugar loaf. It will firm up in there, so let slices come to room temperature or toast them.
15 seconds in the microwave for a slice, or toast it. Toasting suits this loaf better than the others because the drier crumb crisps nicely rather than going soggy.
Yes. Slice first, wrap individually, then bag for up to 3 months. Thaw at room temperature for 30 minutes or toast from frozen. Freezing suits this recipe particularly well, since the slices hold together cleanly and don't compress when wrapped.
Dietary Variations & Adaptations
This one needs two swaps, since both the whey and the Greek yogurt are dairy. Use a pea or rice protein blend and a thick unsweetened coconut or almond yogurt. Give the batter a 15-minute rest rather than 10, because plant proteins hydrate more slowly and are more prone to grittiness.
Replace the all-purpose flour with a 1:1 gluten-free blend containing xanthan gum, gram for gram. Keep the protein powder ratio the same. The crumb comes out slightly more crumbly, so the full cooling time matters more.
Drop the brown sugar to 2 tablespoons and add a fourth banana. Sweetness then depends almost entirely on how black the bananas are, so this variation only works with genuinely overripe fruit.
A note from the kitchen: judge this loaf cold, not warm. Every protein bake firms up substantially as it cools, far more than a butter-and-flour loaf does, because the coagulated protein network keeps tightening as the temperature drops.
That means the thing you're evaluating fifteen minutes out of the oven is not the thing you'll be eating. If you've been overbaking these, this is usually why.
The loaf felt too soft warm, another eight minutes went on, and it came out of the second bake exactly as dry as the one before.
Allergen Notice: This recipe contains dairy in two places: whey or casein protein powders (milk-derived) and Greek yogurt. It also contains eggs and gluten (all-purpose flour). Many protein powders additionally contain soy lecithin, and plant blends are frequently produced on lines handling tree nuts and peanuts. Always read your specific powder label carefully.
Frequently Asked Questions
Recipe Visual Gallery (5 Full Photos)
Recipe Card & Steps
Ingredients Checklist
Click an item to check it off as you prep
- 1 1/4 cups (300g)mashed very ripe banana, about 3 medium
- 3/4 cup (180g)full-fat plain Greek yogurt
- 3 largeeggs, room temperature
- 1/4 cup (60ml)neutral oil
- 1/3 cup (65g)light brown sugar, packed
- 1 tspvanilla extract
- 1 1/4 cups (155g)all-purpose flour, spooned and leveled
- 3/4 cup (75g)vanilla whey protein powder, about 2 1/2 scoops
- 1 1/2 tspbaking powder
- 1/2 tspbaking soda
- 1/2 tspfine salt
- 1/2 tspground cinnamon
Step-by-Step Instructions
Follow along and mark each step complete as you cook
Prep oven and pan
Heat the oven to 325°F (165°C) with a rack in the center. Grease a 9x5-inch loaf pan and line it with a parchment sling overhanging both long sides.
Mash the bananas
Mash the bananas until fully smooth with no lumps larger than a pea. Measure out 1 1/4 cups (300g).
Whisk wet ingredients
Whisk the oil and brown sugar into the mashed banana, then add the eggs one at a time, followed by the Greek yogurt and vanilla. Whisk until smooth.
Sift dry ingredients
Sift or thoroughly whisk the flour, protein powder, baking powder, baking soda, salt, and cinnamon together in a separate bowl for 20 seconds, until no clumps remain.
Fold dry into wet
Fold the dry mixture into the wet in two additions, stopping as soon as the last streak disappears. The batter will be thick and sticky. Do not thin it.
Hydration rest
Scrape into the prepared pan, level the top, and let it rest on the counter for 10 minutes so the protein powder hydrates.
Bake
Bake 45 to 55 minutes. The top will stay pale gold rather than browning deeply.
Check temperature
Pull the loaf when the center reads 200 to 203°F (93 to 95°C) on an instant-read thermometer. Do not bake to 210°F.
Cool completely
Cool in the pan 15 minutes, then lift out by the parchment and cool completely on a wire rack, at least 30 minutes, before slicing.
Recipe Card Notes & Tips
- Whey concentrate gives a softer crumb than isolate. If using casein or a plant blend, add 2 extra tablespoons of yogurt and rest the batter 15 minutes instead of 10.
- No ripe bananas? Bake unpeeled bananas at 300°F for 15 to 20 minutes until the skins blacken, then cool completely before mashing.
- Don't increase the protein powder past 3/4 cup. Beyond roughly a third of the dry weight there isn't enough starch left to build a tender crumb.
Ratings & Reviews
Leave a Review
Made this recipe? Share your thoughts, tweaks, and honest rating with other home cooks!
Community Reviews (0)
You Might Also Enjoy
More delicious recipes in Breakfast.