Chia Pudding Recipe, Thick and Creamy Every Time
Chia pudding that sets thick and creamy every time. Five minutes of prep, one whisking trick most people skip, and the exact seed-to-milk ratio.
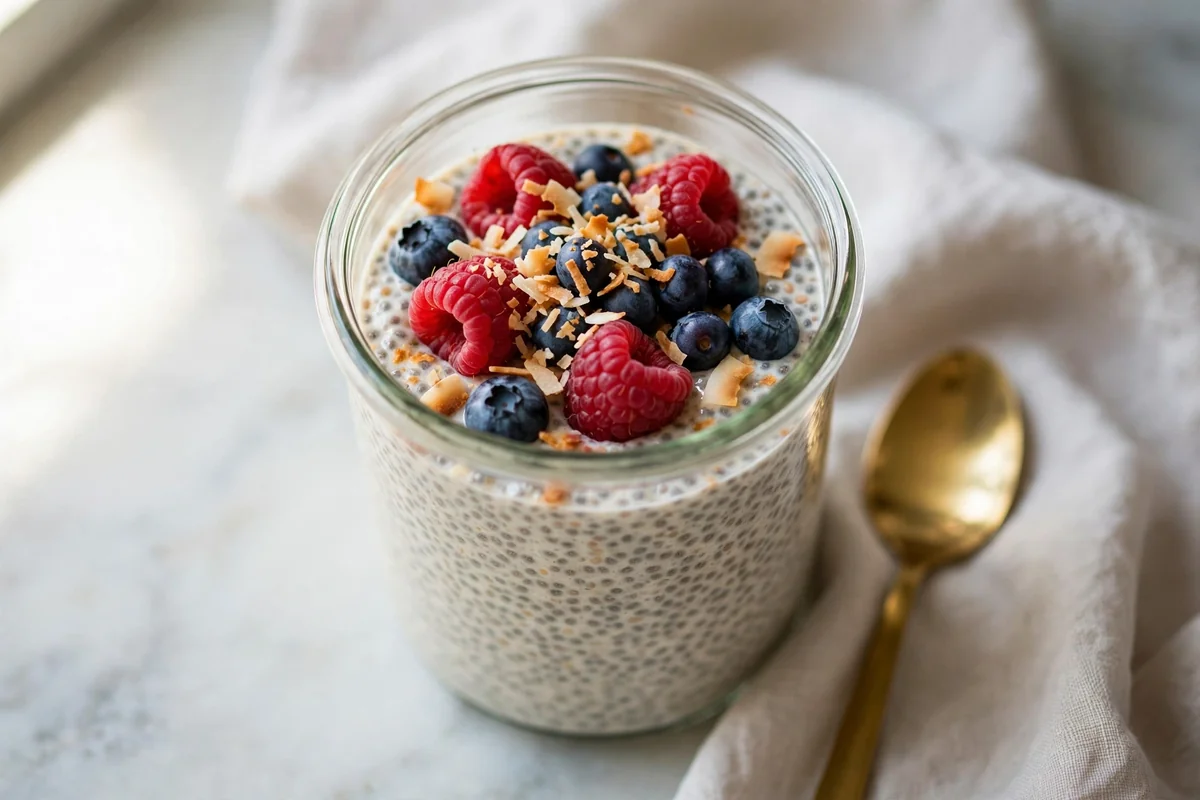
This version sets firm enough to hold a berry on top, tastes like vanilla instead of tasting like nothing, and takes five minutes of actual work before it goes in the fridge overnight.
Why You'll Love This Recipe
- Five minutes of hands-on time, no stove, no blender required
- Makes two jars at once and keeps for five days, so one session covers half a work week
- Naturally vegan and gluten-free without a single swap
- Every failure it can have (runny, clumpy, bland) is fixable, and this walks through all three
Here's the one thing nobody tells you: the fat content of your liquid decides whether this reads as pudding or as gel.
Chia seeds hydrate the same way in water, skim milk, or oat milk, but fat is what coats the outside of each hydrated seed and makes the texture feel creamy instead of slippery.
Swap ¼ cup of the milk for canned full-fat coconut milk, or use whole dairy milk instead of a thin plant milk. Nothing else changes. The pudding just stops tasting like a health food and starts tasting like dessert.
Read Before You Start
Use a whisk, not a spoon. A spoon pushes chia seeds together into a lump. Whisk wires pass through the cluster and separate the seeds while their outer coating is still slippery. This sounds fussy until you have poured one clumpy jar down the drain.
Sweeten before it sets, never after. Once the gel forms, maple syrup will not distribute. It slides around the surface and sits in a sweet puddle at the top while the rest tastes flat. Same for the salt and vanilla: they go into the liquid first.
Ingredient Deep Dive & Notes
Chia seeds (¼ cup). Black or white makes no difference to texture or taste, only to how the finished jar looks. What does matter is age. Chia keeps for a long time but the oils eventually go rancid, which shows up as a faint bitter or paint-like aftertaste. Smell them before you commit a whole batch.
Milk (1¼ cups). Unsweetened almond milk is the default here because it stays neutral. Oat milk works and adds a little natural sweetness. Whole dairy milk gives the creamiest result. Canned coconut milk is the richest, though it firms up hard in the fridge and usually needs a splash of extra liquid stirred in before serving.
Don't substitute maple syrup with granulated sugar. Undissolved sugar crystals sit at the bottom of a cold, thick mixture and stay there. There is no heat step in this recipe to dissolve them. Any sweetener you use has to already be liquid: maple syrup, honey, agave, or a dissolved liquid sweetener.
Vanilla (1 teaspoon). Alcohol-free vanilla extract or vanilla bean paste is the default. Regular pure vanilla extract works identically if that is what you have. Vanilla is doing more work than usual here because there is no browning, no toasting, and no cooking to build flavour, so skipping it leaves the pudding noticeably plain.
Salt (a pinch). Not optional. Without it the sweetness reads dull and one-note. It is the cheapest upgrade in the recipe.
Once you have chia in the pantry it slots right into your weekday morning rotation alongside a quick blended Strawberry Banana Smoothie, slice of Moist Banana Bread, or a weekend batch of Fluffy Pancakes.
Equipment Needed
- A balloon whisk. A fork works in a pinch, a spoon does not.
- A 2-cup jar with a lid, or a bowl plus plastic wrap. Wide-mouth jars are easier to whisk inside.
- A blender, optional, only if you want the smooth mousse-style version.
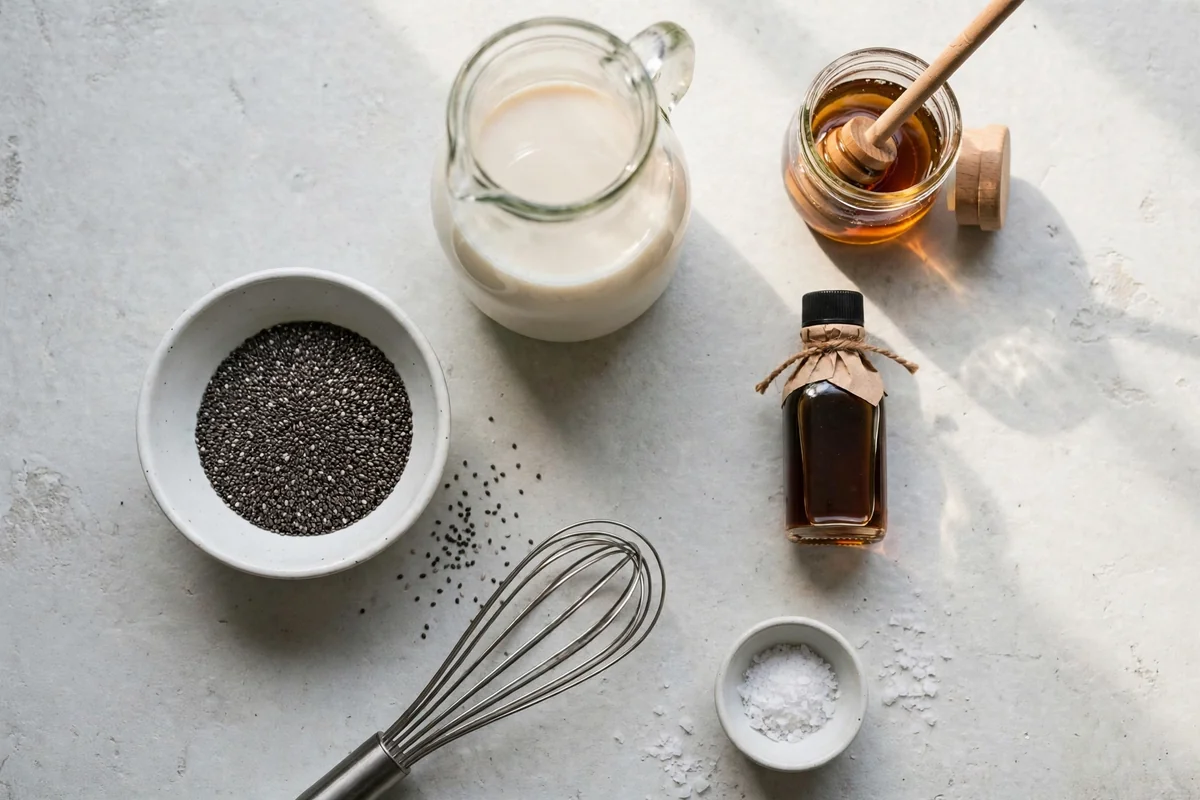
Ingredients for chia pudding including black chia seeds, almond milk, maple syrup, vanilla, sea salt, and a balloon whisk
Detailed Step-by-Step Cooking Guide
Whisk the base first
Add the chia and whisk for 30 full seconds
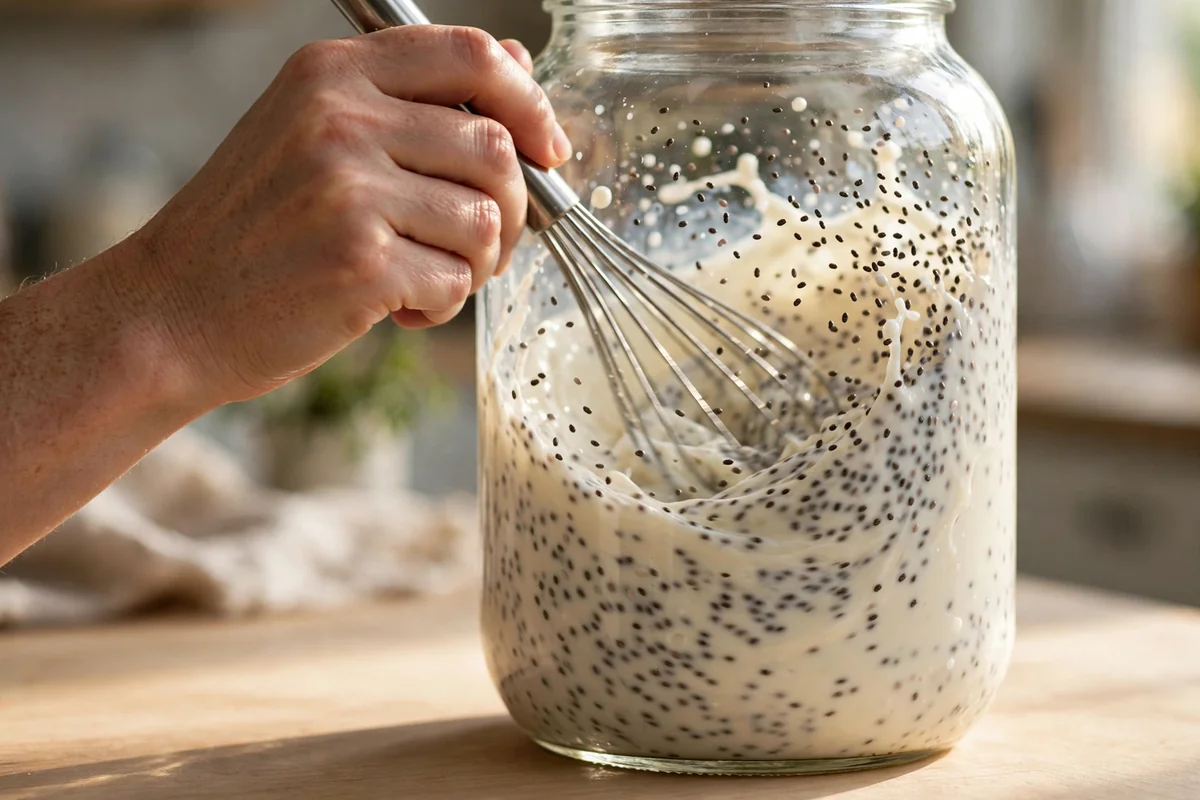
Whisking chia seeds vigorously with milk in a glass jar
Wait 5 minutes, then whisk again
Chill for at least 4 hours
Check the set and adjust
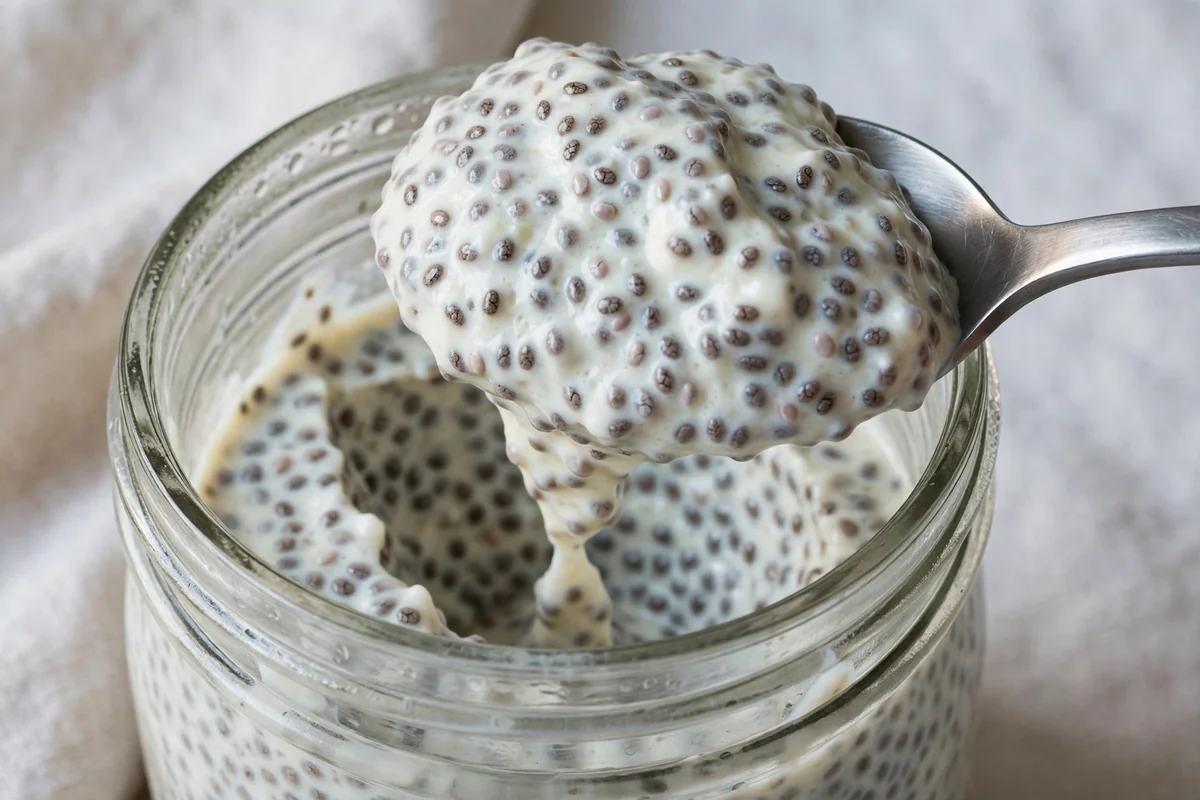
Spoon lifting thick, creamy set chia pudding from a glass jar
Top just before eating, not before chilling
Getting the Chia Pudding Texture Right
What a correct set looks like: thick enough that a spoon leaves a visible track, loose enough to fall off the spoon slowly. Individual seeds should be plump and translucent at the edges, not gritty in the centre. There should be no separated liquid on top.
Almost always a ratio problem or a time problem. Fix the ratio by whisking in more chia at 1 teaspoon per half cup, then wait 30 minutes and check again. If the ratio is right, it simply has not sat long enough.
The second whisk was skipped, or the seeds went in all at once. There is no clean fix after the fact. A blender will smooth it out into a mousse, which is a genuinely good result, just a different one.
The seeds are underhydrated, usually because the mixture was too thick to let liquid reach the centre. Stir in 2 tablespoons of milk and give it another hour.
This is the fat problem from the secret tip. The set is technically correct, the mouthfeel is not. Stir in a spoonful of coconut cream, yogurt, or nut butter.
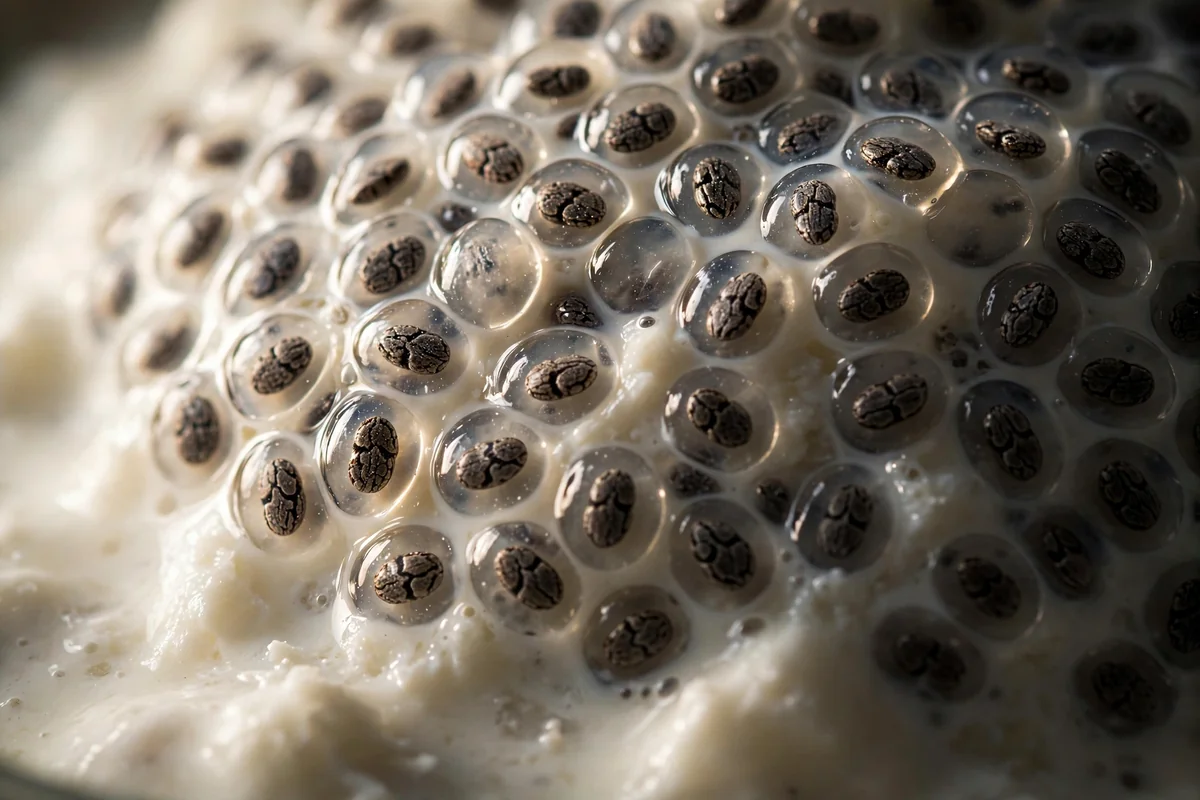
Extreme close-up macro texture of plump hydrated chia seeds with translucent gel halos
Ways to Change Up This Chia Pudding
How to Serve, Store & Reheat
Cold, straight from the fridge, with toppings added right before eating. Berries, sliced banana, toasted coconut, chopped nuts, or a swirl of nut butter all work. If it firmed up harder than you wanted overnight, stir in a splash of milk to bring it back.
Airtight in the fridge for up to 5 days. Jars with lids are ideal since the surface dries out slightly when exposed. If you used dairy milk, treat it like any dairy dish and do not leave it at room temperature for more than 2 hours.
Not needed and not recommended for the standard version. It is designed as a cold dish and warming makes the gel slacken.
Yes, with a caveat. It freezes for up to 2 months but thaws slightly watery, because the gel releases some liquid as ice crystals melt. Stir it hard after thawing. Frozen chia pudding is better as popsicles than as a make-ahead breakfast.
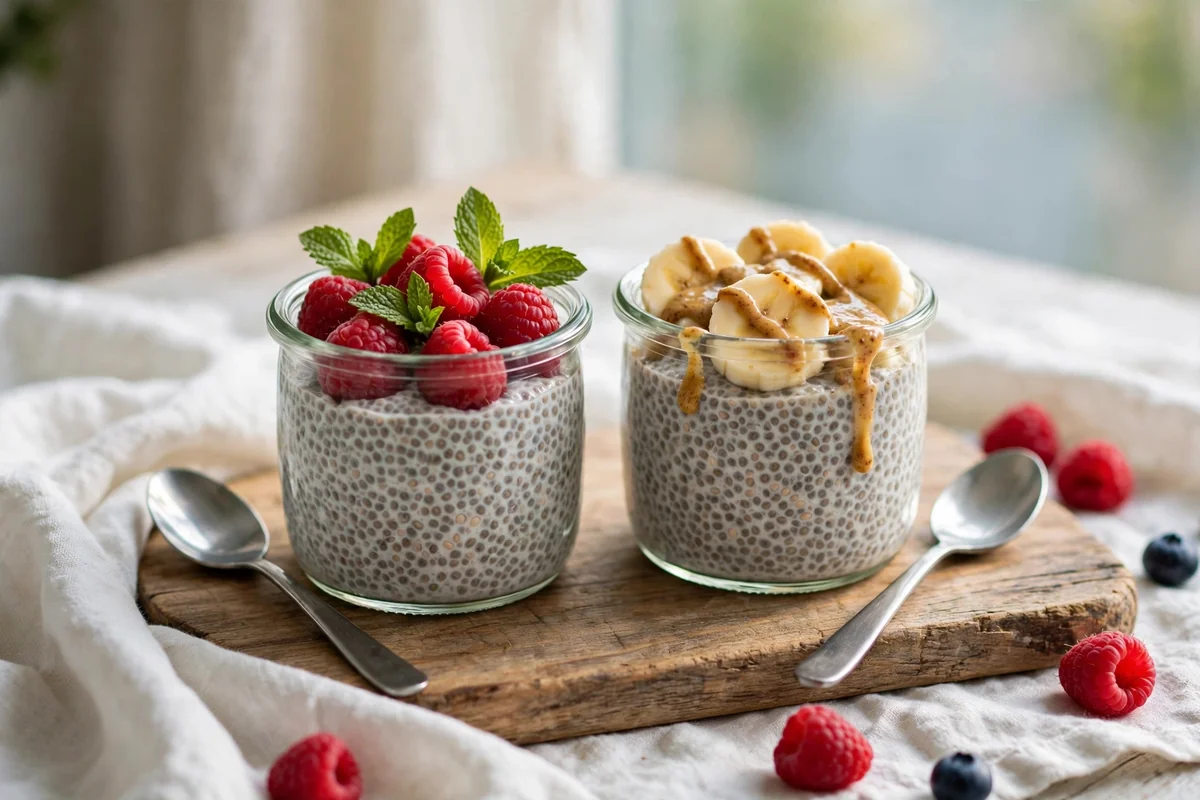
Two glass jars of chia pudding, one garnished with raspberries and mint, the second with banana slices and nut butter drizzle
Dietary Variations
Swap the maple syrup for a liquid monk fruit or allulose sweetener, and use unsweetened coconut milk instead of oat milk. Liquid sweeteners are more concentrated, so start with a quarter of the volume and taste before seeds go in.
Whisk 1 scoop of vanilla protein powder into the milk in step 1. Protein powder absorbs liquid, so add an extra 3 to 4 tablespoons of milk or the set comes out stiff and pasty.
Use oat milk, coconut milk, or dairy milk instead of almond milk, and skip nut toppings. No technique change.
The ratio is the recipe. Everything else is flavouring. Chia seeds absorb somewhere around 10 to 12 times their weight in liquid, which gives you a simple scale to work from: 2 tbsp per cup = drinkable smoothie, 3 tbsp per cup = spoonable pudding (used here), 4 tbsp per cup = firm sliceable set.
Allergen Notice: As written with almond milk, this recipe contains tree nuts. Made with dairy milk it contains milk. Optional nut butter and chopped nut toppings add tree nuts or peanuts. Substitutions: oat milk or coconut milk for almond milk; sunflower seed butter for nut butter. Always verify manufacturer labels.
Frequently Asked Questions
Recipe Visual Gallery (6 Full Photos)
Recipe Card & Steps
Ingredients Checklist
Click an item to check it off as you prep
- 1¼ cups (300 ml)unsweetened almond milk, or milk of choice
- 1½ tbspmaple syrup, plus more to taste
- 1 tspalcohol-free vanilla extract or vanilla bean paste
- 1 pinchfine sea salt (about 1/16 tsp)
- ¼ cup (40 g)chia seeds
- fresh berries or sliced banana (optional, for serving)
- toasted coconut flakes (optional, for serving)
- chopped nuts or a spoonful of nut butter (optional, for serving)
Step-by-Step Instructions
Follow along and mark each step complete as you cook
Add the almond milk, maple syrup, vanilla and salt to a 2-cup jar or bowl. Whisk until the syrup is fully dissolved with no streaks.
Sprinkle the chia seeds evenly across the surface. Whisk hard for a full 30 seconds, until the seeds are suspended and none are sitting in a raft at the bottom.
Let the mixture stand for 5 minutes, then whisk again for 15 seconds to break up any clusters that have started to form. Do not skip this.
Cover and refrigerate for at least 4 hours, or overnight for a firmer set.
Check the set by dragging a spoon through the middle. The channel should hold for a second or two. If it collapses, whisk in 1 more teaspoon of chia per half cup and chill 30 minutes longer. If it is too stiff, stir in milk 1 tablespoon at a time.
Add toppings just before serving, not before chilling.
Recipe Card Notes & Tips
- For a noticeably creamier result, replace ¼ cup of the almond milk with canned full-fat coconut milk, or use whole dairy milk.
- For a chocolate version, whisk 2 tablespoons unsweetened cocoa powder into the milk in step 1 and add 1 extra tablespoon of maple syrup.
- Always ensure chia seeds are fully hydrated before consuming.
Ratings & Reviews
Leave a Review
Made this recipe? Share your thoughts, tweaks, and honest rating with other home cooks!
Community Reviews (0)
You Might Also Enjoy
More delicious recipes in Breakfast.