Baked Potatoes in the Oven Recipe with Crispy Skin
Baked potatoes in the oven with crackly salted skin and a fluffy middle. Exact temp, real timing by potato size, and the doneness cue that matters.
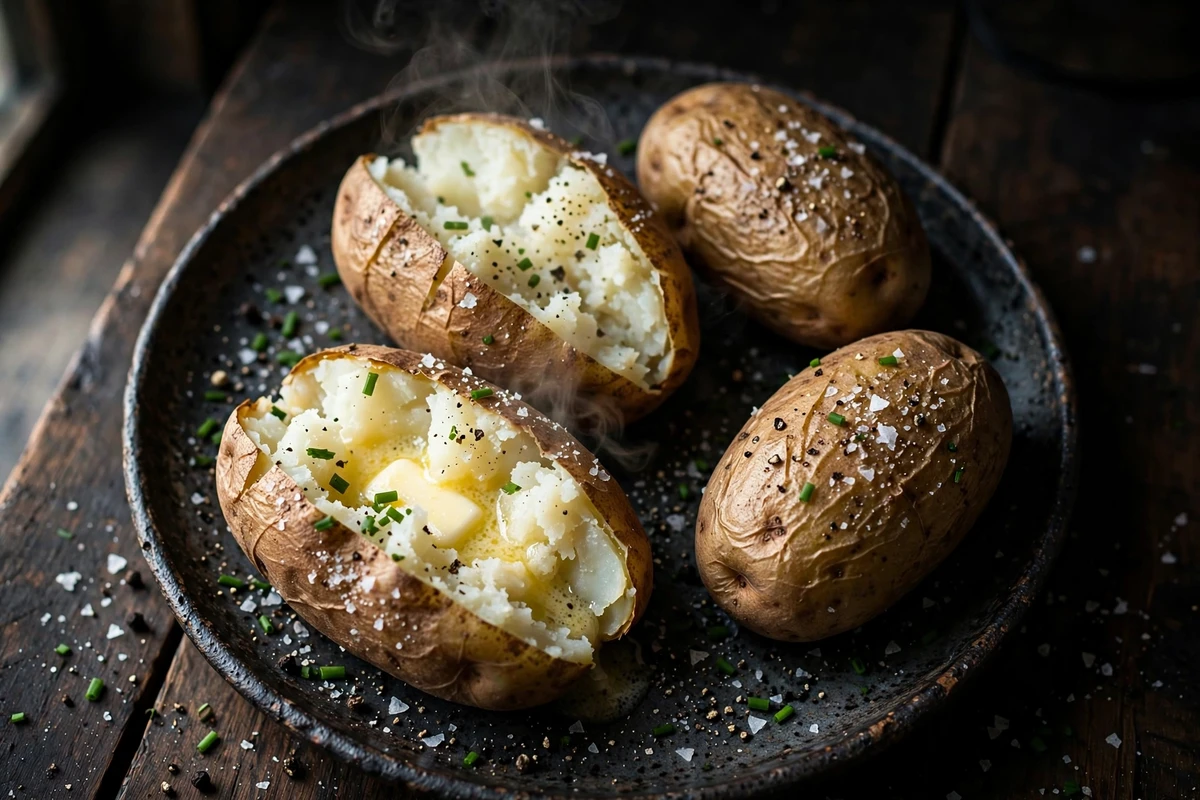
Everything below is the method, plus the timing chart for the potato you actually have in your hand.
Why You'll Love This Recipe
- The skin turns thin and crackly instead of damp, because nothing traps steam against it
- You get a reliable result at any potato size, since doneness is read with a thermometer, not a clock
- Total hands-on time is under ten minutes, and the oven does the rest unattended
- It scales from two potatoes to a dozen without changing anything but rack space
Dunk the scrubbed, pricked potatoes in strong salt water for 30 seconds before oiling them.
Here's the thing most recipes get backwards: sprinkling salt on an oiled potato does almost nothing, because the salt sits on grease and falls off in the oven.
A brief brine puts a thin film of salt solution directly on damp skin, the water evaporates during baking, and the salt is left behind bonded to the skin.
You get seasoning in the skin itself rather than a salty first bite and a bland second one.
Read Before You Start
Potato weight matters more than potato count. A "medium" russet at one store is 6 ounces and at another it is 12. Weigh one or check the package, then use the timing chart further down. This single check removes most of the guesswork people blame on their oven.
Dry skin crisps, wet skin steams. After scrubbing, the potatoes need to be genuinely dry before oil goes on. Surface water turns to steam under the oil layer and softens the skin from the outside in.
Ingredient Deep Dive & Notes
Russet potatoes. This is the one ingredient with no real substitute. Russets are high-starch and low-moisture, so their cells separate into dry, fluffy grains as they cook. Look for potatoes of similar size so they finish together, and skip any with green patches or sprouting eyes.
Don't substitute: do not swap russets for red, new, or fingerling potatoes if you want a fluffy interior. Those are waxy and low-starch, and they hold together into a dense, almost creamy texture when baked. That texture is excellent roasted or in our comforting Potato Soup, and wrong here.
Kosher salt for the brine. Coarse kosher salt dissolves cleanly and is easy to measure by volume. Table salt works if that's what you have, but cut it to 3 tablespoons since the finer grains pack more salt into the same cup.
Olive oil. Any neutral oil works. Olive oil adds a little flavor to the skin and holds up fine at this temperature. Melted butter is not the right choice for the skin, since its milk solids scorch over a full hour.
Butter and black pepper to finish. Salted butter is the default here. If you're building toward a comforting soup dinner, a split potato is also delicious ladled with thick, savory Creamy Broccoli Cheddar Soup.
One honest note on toppings: bacon, hard cheeses, and some sour creams vary by brand on their source ingredients, so check labels if that matters to you. The recipe itself stays clean.
Equipment Needed
- Instant-read thermometer. The only tool that actually tells you a potato is done. A $12 one is enough.
- Stiff vegetable brush. Potato skin holds grit in its dimples, and you're eating this skin.
- Rimmed sheet pan. It goes on the rack below the potatoes to catch drips, not under the potatoes themselves.
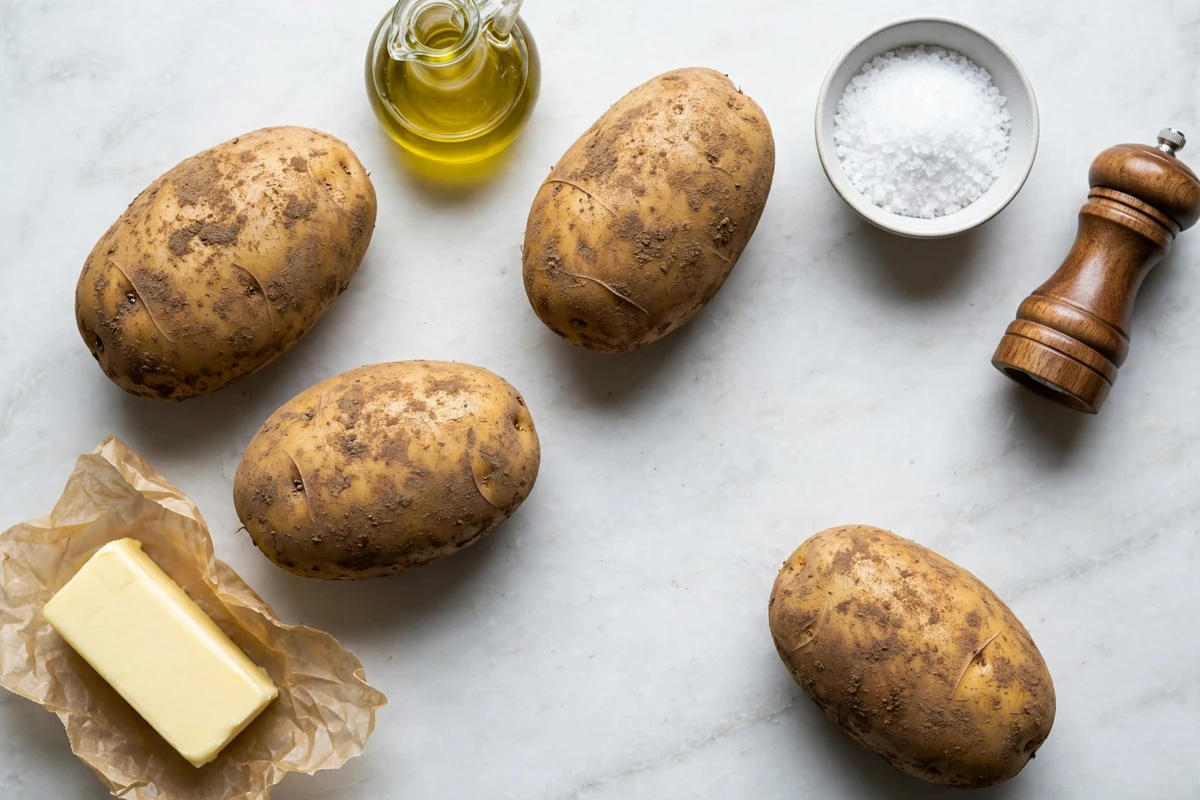
Raw scrubbed russet potatoes with olive oil, kosher salt, butter, and black pepper on a cutting board
Detailed Step-by-Step Cooking Guide
1. Heat the oven and set the racks
2. Scrub and prick
3. The salt dunk (the step most people skip)
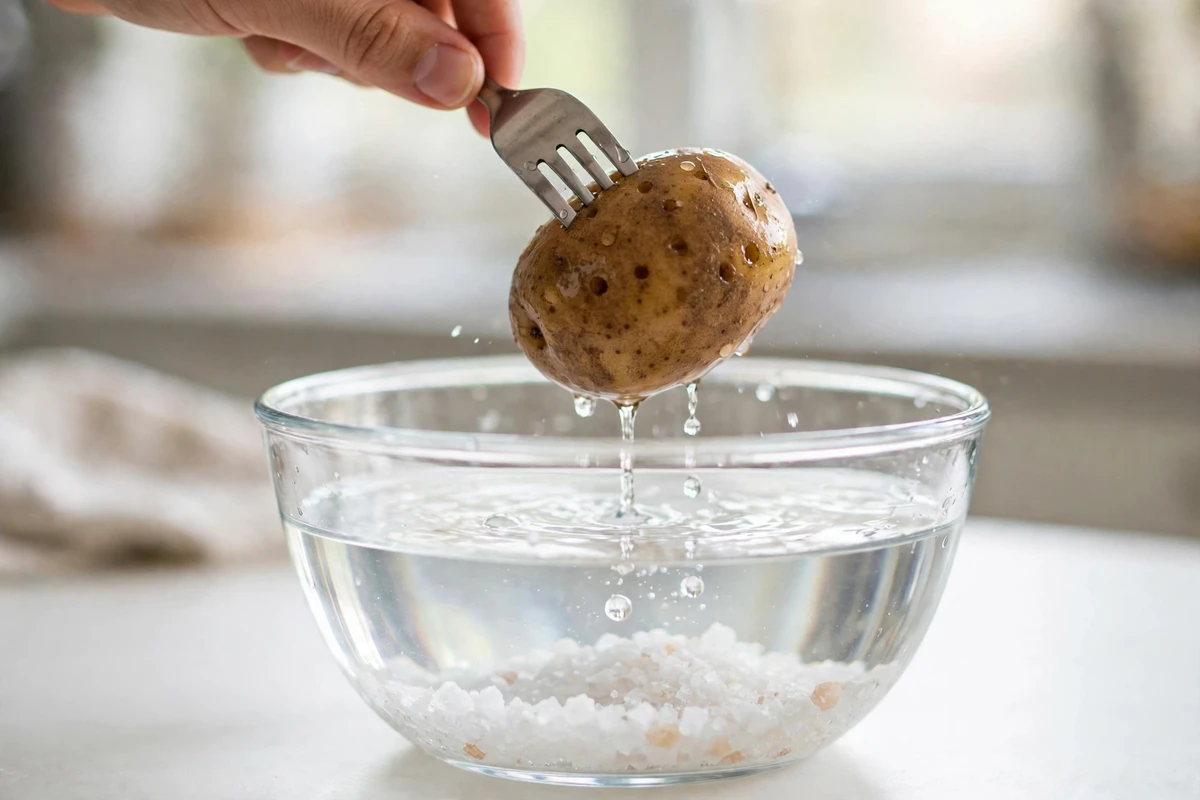
Dunking scrubbed and pricked russet potatoes in a bowl of warm salt brine
4. Oil the skins
5. Bake directly on the rack
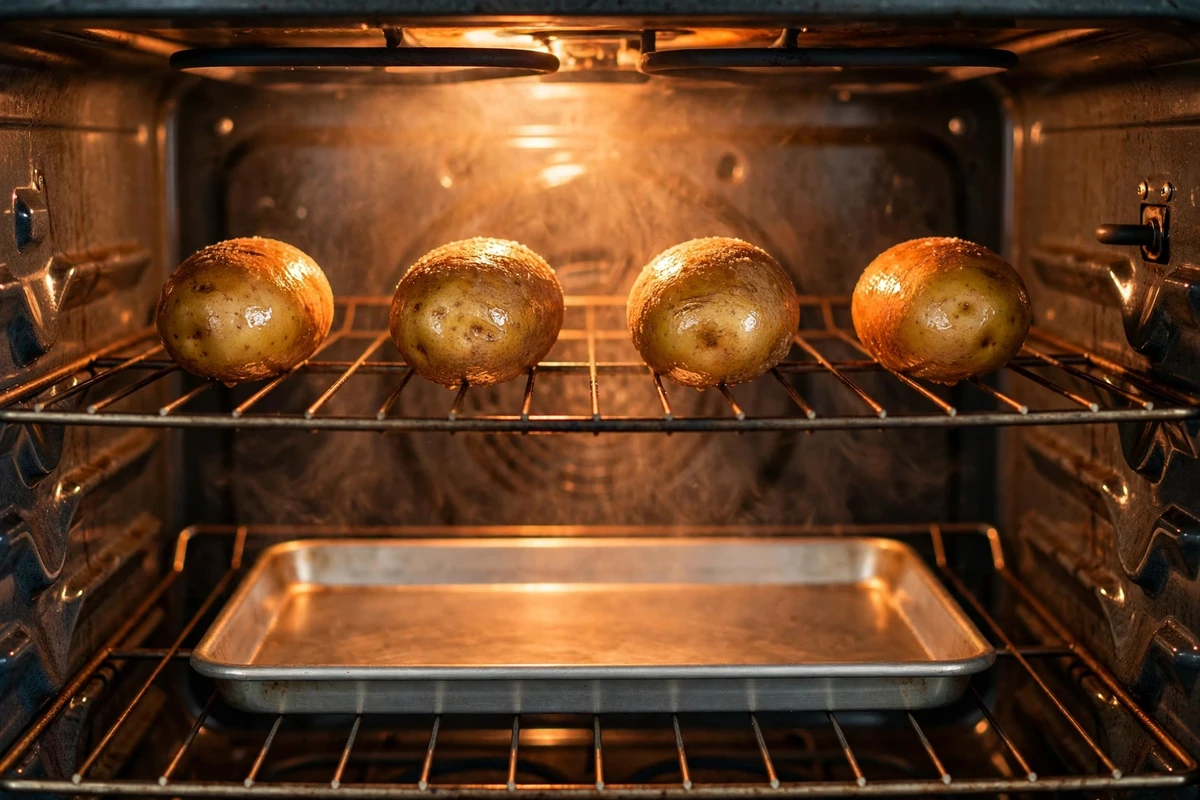
Russet potatoes baking uncovered directly on the middle oven wire rack
6. Check the internal temperature
7. Split them open right away
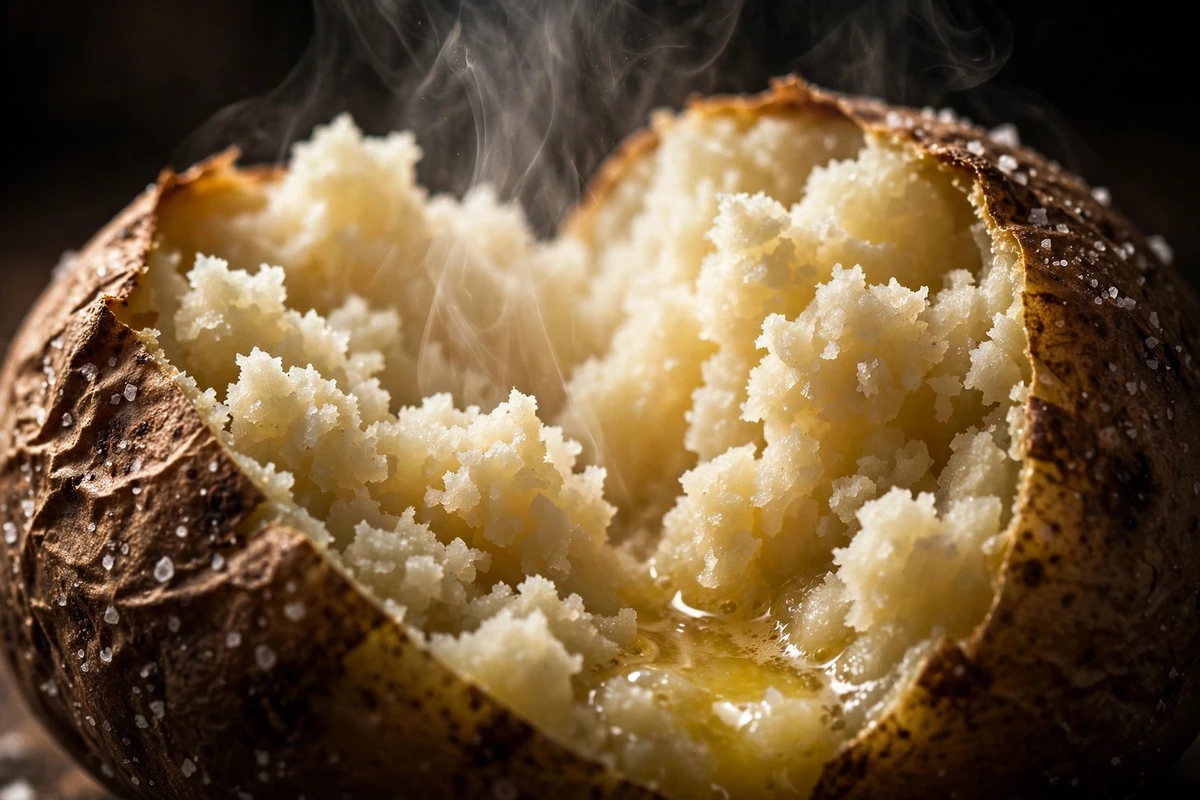
Checking internal temperature of a baked potato with an instant-read digital thermometer
Getting the Fluffy Interior Right
Troubleshooting common baked potato skin and texture issues:
Undercooked, almost always. Potatoes are forgiving at the top end, so give them another 8 to 10 minutes and check for 205°F again. Fifteen extra minutes will not ruin them.
Three usual causes: foil, a baking sheet under the potatoes, or wet skin at oiling time. Airflow and dryness are what make the skin crisp.
The salt never made it past the surface. Either the brine step was skipped, or salt was sprinkled onto already-oiled skin.
Too long at too low a temperature. A slow 350°F bake dries a potato out before the center is ready. 425°F is quicker and gives you a wider window between done and overdone.
Mixed sizes. Sort by weight and cook similar potatoes together.
How to Use Baked Potatoes as a Base
How to Serve, Store & Reheat
Serve them split and steaming, with butter melting in before anything else goes on top. The classic loaded version is sour cream, chives, shredded cheese, and black pepper. Beyond that, chili, shredded chicken, broccoli with cheese sauce, or a fried egg all work. Keep toppings to a few things, since the potato is the actual point. They also make an ideal side dish for soaking up rich pan juices from roasted poultry, such as our Baked Lemon Chicken.
Cool leftover potatoes to room temperature within about two hours, then refrigerate in an airtight container for up to 4 days. Don't leave cooked potatoes out overnight at room temperature. Store them plain and add toppings when you reheat.
Oven, 400°F, 15 to 20 minutes, directly on the rack. The skin re-crisps and the inside comes back close to fresh. The microwave is faster at about 2 minutes, but the skin goes soft and won't recover. An air fryer at 375°F for 8 to 10 minutes is a good middle ground.
Not recommended plain. Freezing bursts the water inside the cells and thawed baked potatoes come out grainy and watery. Twice baked potatoes freeze well, because the mashed filling and dairy change the texture enough to survive it. Freeze those on a tray, then bag them for up to 3 months.
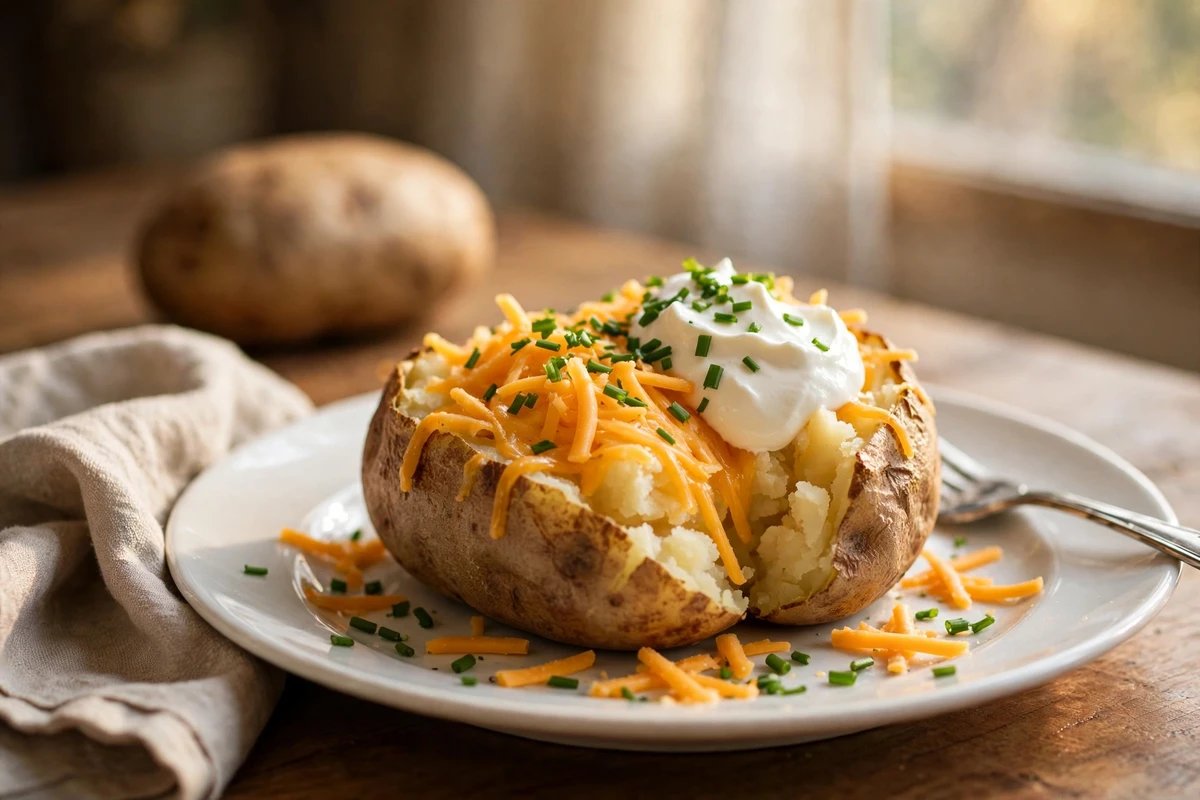
Crispy skin baked potato split open and loaded with melted butter, sour cream, and fresh chives
Dietary Variations
The recipe is already dairy-free until the butter. Use olive oil, a vegan butter, or a spoonful of cashew cream on the split potato. Nothing else changes.
Skip the brine, dry the potatoes well, and rub them with oil and a light pinch of salt. You'll lose the seasoned skin but keep the crisp texture.
After oiling, roll each potato in coarse kosher salt so grains stick to the skin, and bake as written. Brush the loose salt off before serving. The skin comes out drier and more textured.
The reason a baked potato gets fluffy at all comes down to what heat does to starch. Potato cells are packed with starch granules that absorb water and swell as they heat, and somewhere above about 205°F the pectin holding neighboring cells together breaks down enough that those cells separate cleanly instead of tearing.
That separation is the fluff. It's also why the temperature window matters more than the clock: a potato pulled at 195°F looks cooked and cuts easily, but the cells are still bound together, which is exactly the dense texture people describe as gluey without knowing why.
Allergen Notice: The potatoes, oil, and salt contain none of the major allergens. The finishing butter is dairy, and common toppings add more: sour cream and cheese are dairy, and some bacon bits and seasoning blends contain soy or wheat. Always check labels on any pre-mixed toppings.
Frequently Asked Questions
Recipe Visual Gallery (6 Full Photos)
Recipe Card & Steps
Ingredients Checklist
Click an item to check it off as you prep
- 4russet potatoes (8 to 10 oz / 225 to 285 g each)
- ¼ cup (75 g)coarse kosher salt
- 4 cups (950 ml)warm water
- 2 tbspolive oil
- 4 tbsp (55 g)salted butter
- to tasteflaky or kosher salt
- to tastefreshly ground black pepper
Step-by-Step Instructions
Follow along and mark each step complete as you cook
Heat the oven to 425°F (220°C). Set one rack in the center position and place an empty rimmed sheet pan on the rack directly below it.
Scrub the potatoes under cold water with a stiff brush and dry them well. Prick each one 8 to 10 times all over with a fork, about ¼ inch deep.
Stir the kosher salt into the warm water until dissolved. Dunk each potato for 30 seconds, turning once. Lift it out and place it on the center oven rack without drying it.
Let the potatoes sit for a minute to shed surface drips, then rub each one all over with about 1½ teaspoons of olive oil, using 2 tablespoons total.
Return the potatoes to the bare center rack, spaced at least 2 inches apart. Bake for 50 to 65 minutes, uncovered and unwrapped.
Starting at 50 minutes, check the center of a potato with an instant-read thermometer. They are done at 205°F to 212°F (96°C to 100°C).
Cut a lengthwise slit in each potato within a minute or two of taking them out, then push the ends toward the middle to open them and release the steam.
Fluff the interiors with a fork, add 1 tablespoon butter to each, and season with salt and pepper. Rest 5 minutes before serving.
Recipe Card Notes & Tips
- Timing depends on potato weight. Small potatoes can be done at 35 minutes, extra-large ones can need 85. The thermometer is the reliable test.
- Do not wrap in foil or bake on a sheet pan. Both trap steam and soften the skin.
- Sort potatoes by size so a batch finishes together.
- Leftovers keep 4 days refrigerated. Reheat at 400°F for 15 to 20 minutes to bring the skin back.
Ratings & Reviews
Leave a Review
Made this recipe? Share your thoughts, tweaks, and honest rating with other home cooks!
Community Reviews (0)
You Might Also Enjoy
More delicious recipes in Salads & Sides.