Garlic Butter Chicken Recipe with a Glossy Pan Sauce
Garlic butter chicken with a glossy pan sauce, no burnt garlic, and chicken that stays juicy. One skillet, no wine, ready in 45 minutes.
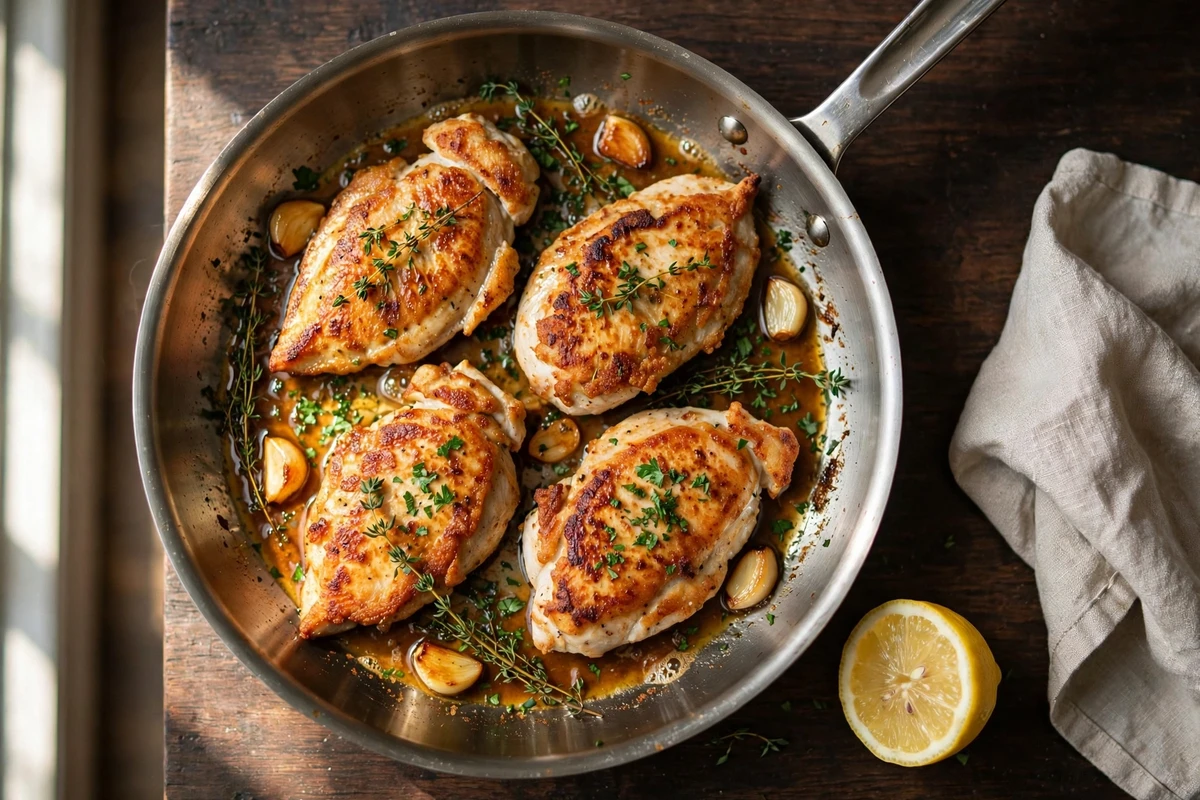
The chicken gets sliced thin rather than pounded, which is faster and gives you more browned surface per bite. No cream, no wine, and no separate sauce pan. Everything happens in one skillet in about 20 minutes of active cooking.
Why You'll Love This Recipe
- The sauce emulsifies into something glossy that clings to the chicken instead of running off as melted butter
- Slicing the breasts horizontally cuts the cook time roughly in half and removes the dry-in-the-middle problem
- Six ingredients do the actual work. The rest is salt, pepper, and parsley
- It reheats better than most chicken breast dishes because the sauce protects it
Split the garlic into two additions. Smash 4 cloves whole and drop them into the pan when the butter goes in.
They infuse the fat slowly without burning, because whole cloves have far less exposed surface area than minced. Then mince 2 more cloves and stir them in during the last 30 seconds off the heat.
The first batch gives you rounded, sweet, cooked garlic depth through the sauce. The second gives you the bright raw-edged garlic smell that hits you when the plate arrives.
One addition alone always tastes like it's missing something.
Read Before You Start
Slice the breasts, don't pound them. Lay each breast flat, put your palm on top, and cut horizontally through the middle to make two thin cutlets. Pounding tears the muscle fibers and pushes moisture out. Slicing gives you the same even thickness with none of that, plus it's quieter and takes 20 seconds.
Butter cannot do the searing. The milk solids in butter start browning around 250°F and burn well before you reach a good sear temperature. Sear in oil, then add the butter after the heat comes down. If you've been getting black speckles in your pan, this is why.
Ingredient Deep Dive & Notes
Boneless skinless chicken breasts. Two large breasts become four cutlets. Thighs work and are more forgiving, see the FAQ for the timing. For oven-roasted bone-in chicken thighs with crackling-crisp skin and pan juices, see our Baked Lemon Chicken.
Fresh garlic, 6 cloves. That sounds like a lot until you remember the whole cloves mellow out completely. Don't substitute garlic powder here, the dish is named after the ingredient and powder brings no sweetness and no texture.
Unsalted butter, 5 tablespoons. Split between cooking and finishing. Unsalted matters because you're reducing stock, and salted butter plus reduced stock lands somewhere unpleasant.
Chicken stock, low sodium. This is what turns melted butter into an actual sauce. Water works in a pinch but the sauce will taste thin. Low sodium is not optional advice here since the liquid reduces by half.
Fresh thyme. Two sprigs, added whole and pulled out later. Dried thyme works at about a third of the volume.
Lemon. Just the juice of half, added at the very end. It's there to cut the butter, not to make the dish taste lemony.
Flour, 1 tablespoon. Optional. A light dusting on the cutlets gives a slightly crisper crust and helps the sauce thicken. Skip it to keep the recipe gluten-free.
Serve this with creamy mashed potatoes, or if you prefer a light, refreshing side, pair with Asian Cucumber Salad or Creamy Cucumber Salad.
Equipment Needed
- A stainless steel or cast iron skillet, 12 inches. Nonstick will cook the chicken fine but it won't build fond, and fond is most of the sauce.
- An instant-read thermometer
- A sharp knife for slicing the breasts horizontally
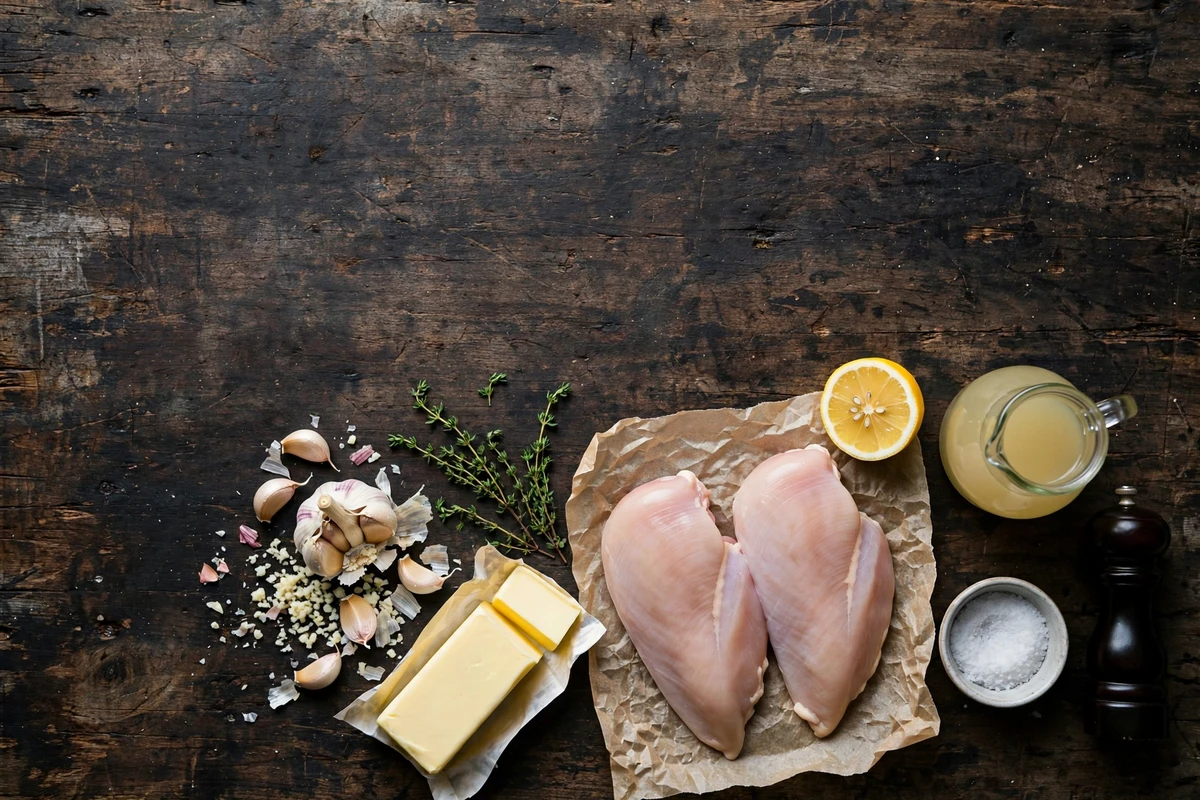
Ingredients for garlic butter chicken including fresh chicken breasts, butter, whole and minced garlic, thyme sprigs, lemon, chicken stock, salt, and pepper
Detailed Step-by-Step Cooking Guide
Slice and Salt the Chicken
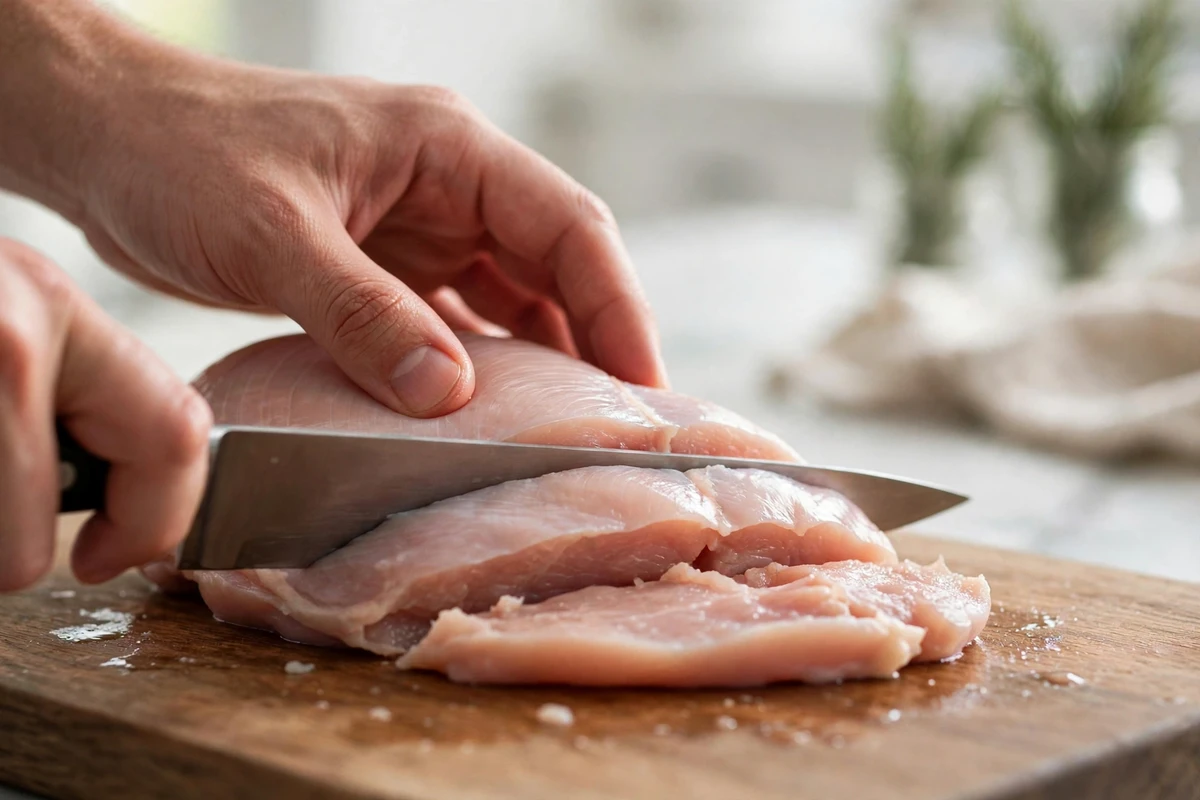
Slicing fresh chicken breast horizontally into thin cutlets with a chef knife
Sear the Cutlets
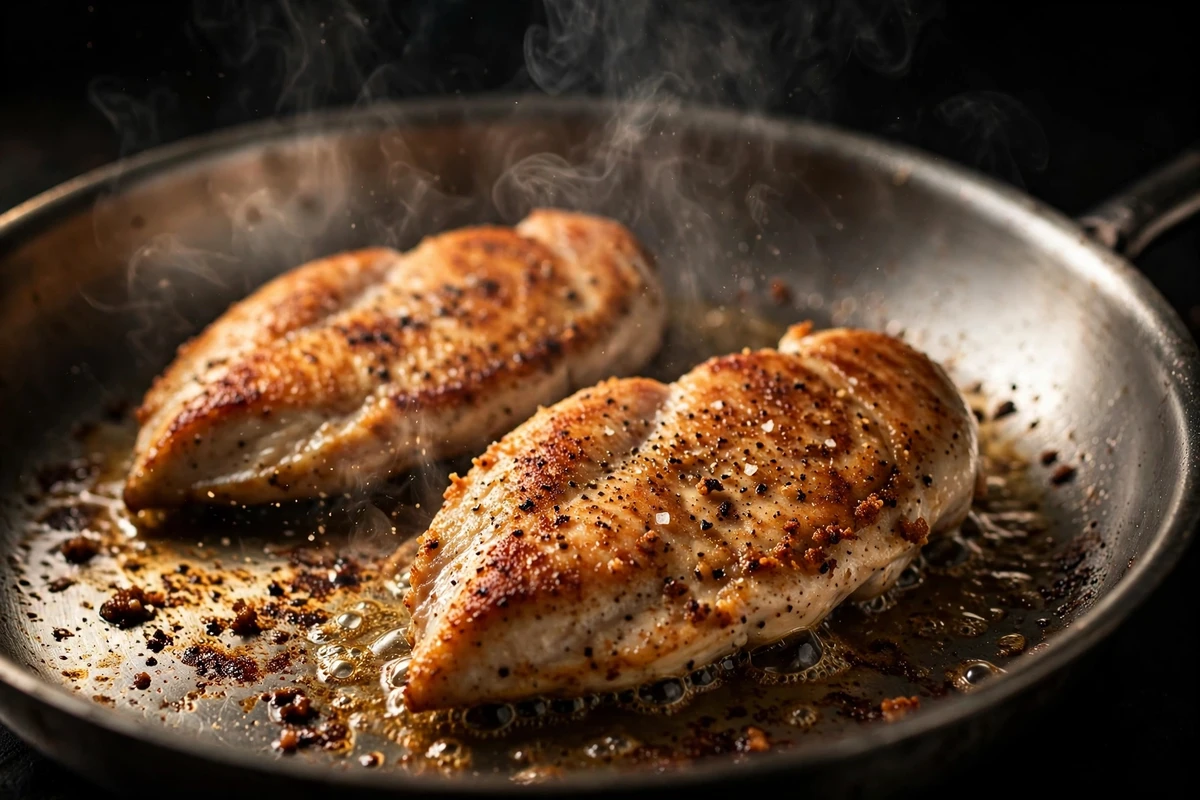
Searing seasoned chicken cutlets in a stainless skillet with golden crust and pan drippings
Start the Garlic Butter
Deglaze and Reduce
Finish and Return the Chicken
Getting the Pan Sauce Right
A proper pan sauce is a delicate emulsion of chicken fond, reduced stock, and cold butter that clings to the cutlets like velvet.
You added the finishing butter while the pan was still on heat. Take the pan off the burner first and swirl the cold butter in a piece at a time. If it's already broken, add a teaspoon of cold stock and swirl hard to bring it back.
The garlic went too far in Step 3. Lower heat, whole cloves, and pull the pan the moment they hit pale gold.
You didn't reduce far enough in Step 4. Take the chicken out and simmer the liquid another 2 minutes, then take the pan off heat and finish with butter again.
Uneven thickness or overshooting the temperature. Pull at 165°F (74°C) using an instant-read thermometer.
Either the pan was nonstick, or the chicken was still wet when it went in. Both prevent the browning that creates fond.
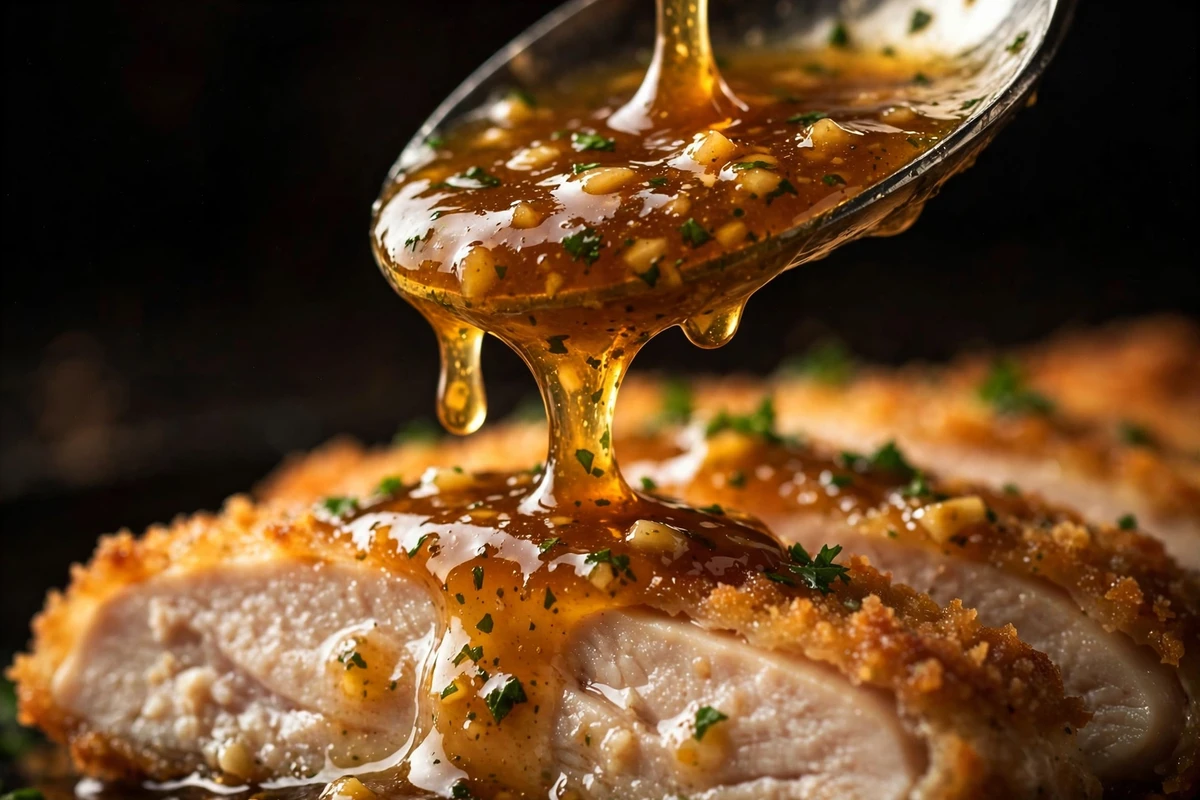
Spooning glossy garlic butter pan sauce with minced garlic and parsley over sliced golden chicken breast
How to Use This Garlic Butter Sauce
How to Serve, Store & Reheat
Mashed potatoes, rice, or fluffy baked potatoes in the oven with crispy skin all make sense because they absorb the pan sauce, which is the point. For something lighter, roasted asparagus or a simple green salad with a sharp vinaigrette balances the butter. Slice the cutlets before serving and spoon the sauce over the cut surfaces so it soaks in.
Refrigerate the chicken and sauce together in an airtight container for up to 3 days. The sauce will solidify into a pale block, which is normal and reverses on reheating.
Low and slow on the stovetop, covered, with a tablespoon of water or stock added. Two to three minutes is enough. High heat will break the sauce and dry the chicken in one move. In the microwave, use 50 percent power in 30-second bursts.
Not recommended. Butter emulsions separate on thawing, and thin chicken cutlets go stringy after a freeze-thaw cycle. Slice and salt the chicken up to a day early and refrigerate, then cook fresh.
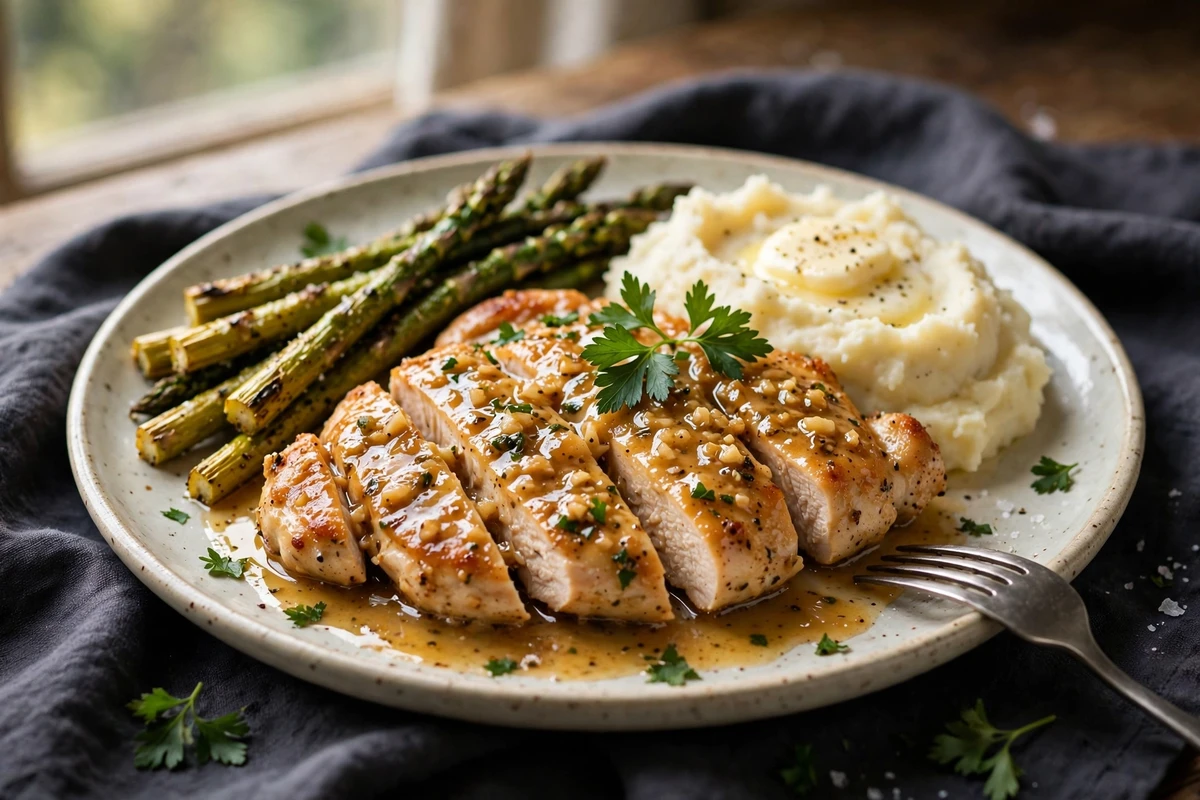
Plated dinner featuring sliced garlic butter chicken cutlets with pan sauce alongside mashed potatoes and roasted asparagus
Dietary Variations
Replace the butter with a good stick vegan butter, not olive oil. Oil won't emulsify into the stock the same way. Vegan butter holds because it contains water and emulsifiers.
Cut the finishing butter to 1 tablespoon and increase the stock to ¾ cup, reducing it further. The sauce will be thinner but retains rich garlic flavor.
Skip the optional flour dusting and check that your chicken stock is certified gluten-free. Nothing else in the recipe contains gluten.
Use a stainless steel or cast iron pan for this, not nonstick. Nonstick coatings prevent proteins from bonding to the surface, and that bonding is exactly what creates fond, the brown caramelized layer you scrape up in Step 4.
Cook in nonstick and there will be no savory fond to lift into the sauce.
Allergen Notice: This recipe contains dairy (butter). Substitute stick-form vegan butter for a dairy-free version. Always verify ingredient labels on chicken stock.
Frequently Asked Questions
Recipe Visual Gallery (6 Full Photos)
Recipe Card & Steps
Ingredients Checklist
Click an item to check it off as you prep
- 2 largeboneless skinless chicken breasts (about 1½ lb / 680 g total)
- 1 tspfine salt
- ½ tspblack pepper
- 1 tbspall-purpose flour (optional, omit for gluten-free)
- 1 tbspneutral oil
- 5 tbspunsalted butter, divided (3 tbsp cooking, 2 tbsp cold finishing)
- 6 clovesfresh garlic, divided (4 smashed whole, 2 minced)
- 2 sprigsfresh thyme (or ⅓ tsp dried)
- ½ cuplow-sodium chicken stock
- 1 tbsplemon juice (about half a lemon)
- 2 tbspfresh parsley, chopped
- salt to taste
Step-by-Step Instructions
Follow along and mark each step complete as you cook
Slice each chicken breast horizontally into two thin cutlets. Pat completely dry, season both sides with the salt and pepper, and rest on a plate at room temperature for 15 minutes.
Dust the cutlets lightly with flour if using. Heat the oil in a 12-inch stainless steel or cast iron skillet over medium-high until it shimmers.
Sear two cutlets at a time, 4 minutes on the first side without moving them, then 3 minutes on the second, until they read 165°F (74°C). Transfer to a plate and repeat. Do not clean the pan.
Reduce heat to medium-low and wait 30 seconds. Add 3 Tbsp butter, the 4 smashed garlic cloves, and the thyme. Swirl 2 to 3 minutes until the garlic turns pale gold. Do not let it darken past light honey color.
Pour in the chicken stock and scrape the bottom of the pan to lift the browned bits. Raise heat to medium and simmer 3 to 4 minutes until reduced by half. Remove and discard the thyme sprigs and whole garlic cloves.
Take the skillet off the heat. Swirl in the 2 Tbsp cold butter one piece at a time until the sauce turns glossy. Stir in the minced garlic and lemon juice. Taste and adjust salt.
Return the cutlets and their juices to the pan, turning to coat. Scatter parsley over the top and serve.
Recipe Card Notes & Tips
- Butter burns before it can sear. Always sear in oil first and add butter after the heat comes down.
- The finishing butter must go in off the heat or the sauce will break into oil.
- Nonstick pans don't build fond, so the sauce will be noticeably flatter.
- For thighs, use 1½ lb boneless skinless thighs whole and sear 5 to 6 minutes per side to 175°F (79°C).
- Use halal-certified chicken for halal dining.
Ratings & Reviews
Leave a Review
Made this recipe? Share your thoughts, tweaks, and honest rating with other home cooks!
Community Reviews (0)
You Might Also Enjoy
More delicious recipes in Main Dishes.